


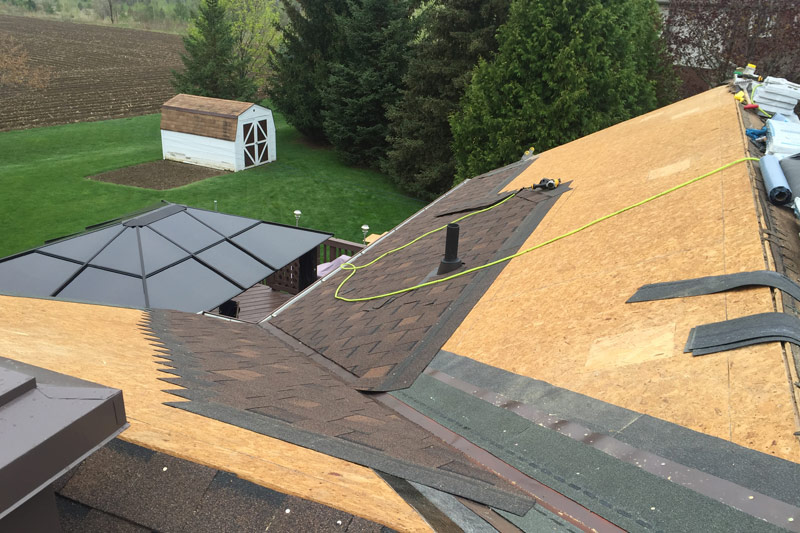
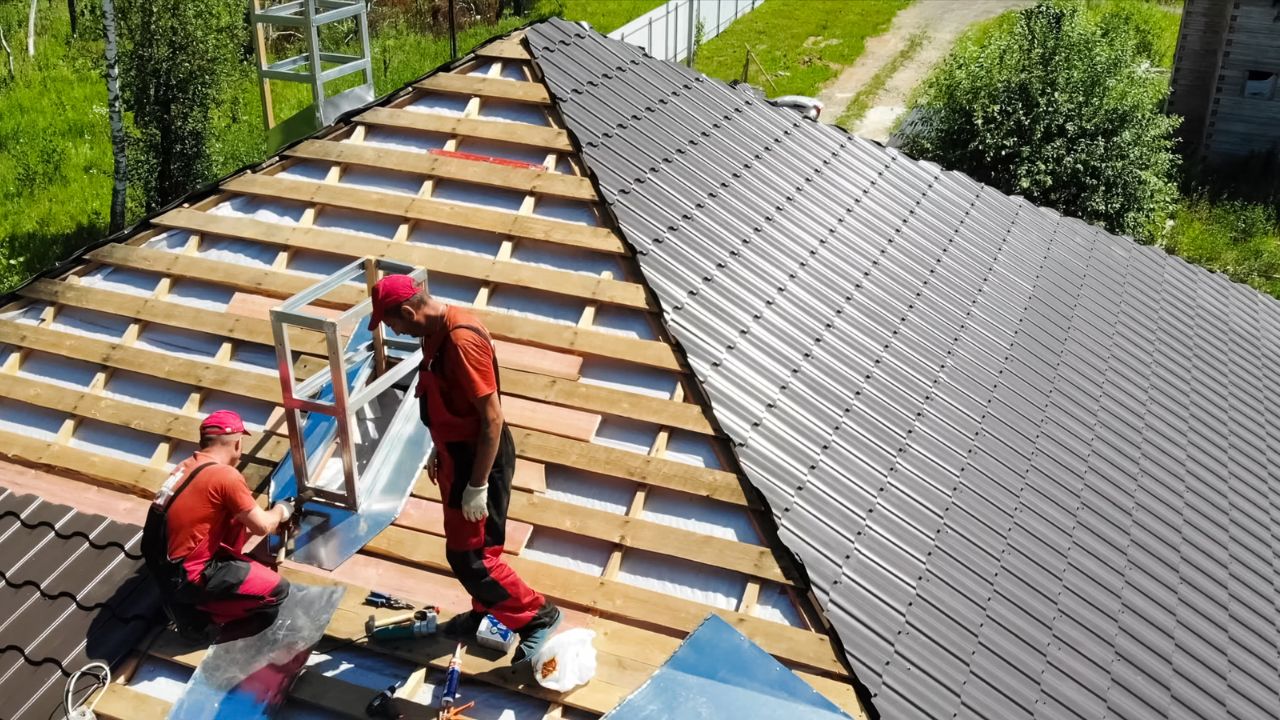
Need A Roofing Contractor?
Licensed Contractor

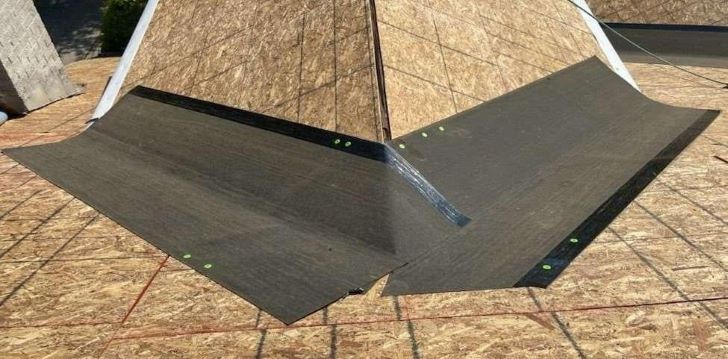
Need Roofing Estimate?
Highly Accurate
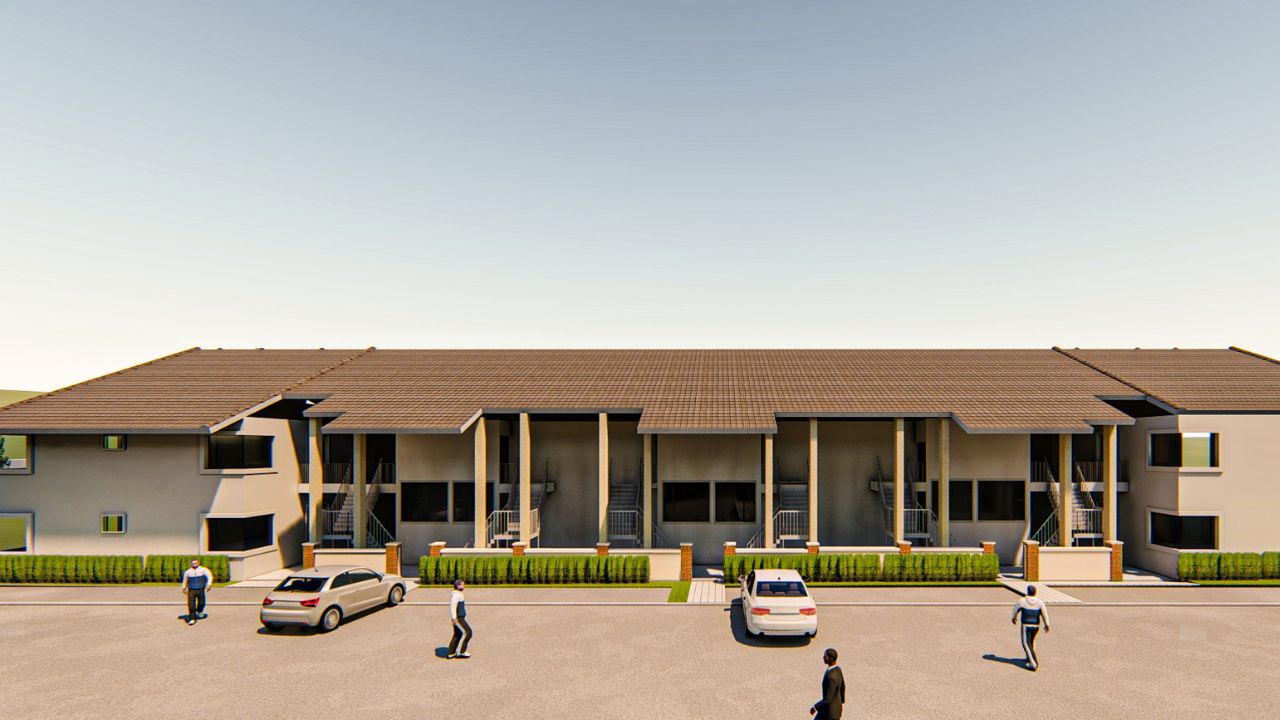
Want Roofing 3D Rendering?
Showcase Your Design Ideas

Need A Roofing Contractor?
Licensed Contractor
Need Roofing Estimate?
Highly Accurate
Want Roofing 3D Rendering?
Showcase Your Design Ideas
Need A Roofing Contractor?
Licensed Contractor
Need Roofing Estimate?
Highly Accurate
Want Roofing 3D Rendering?
Showcase Your Design Ideas
Need A Roofing Contractor?
Licensed Contractor
Need Roofing Estimate?
Highly Accurate
Want Roofing 3D Rendering?
Showcase Your Design Ideas